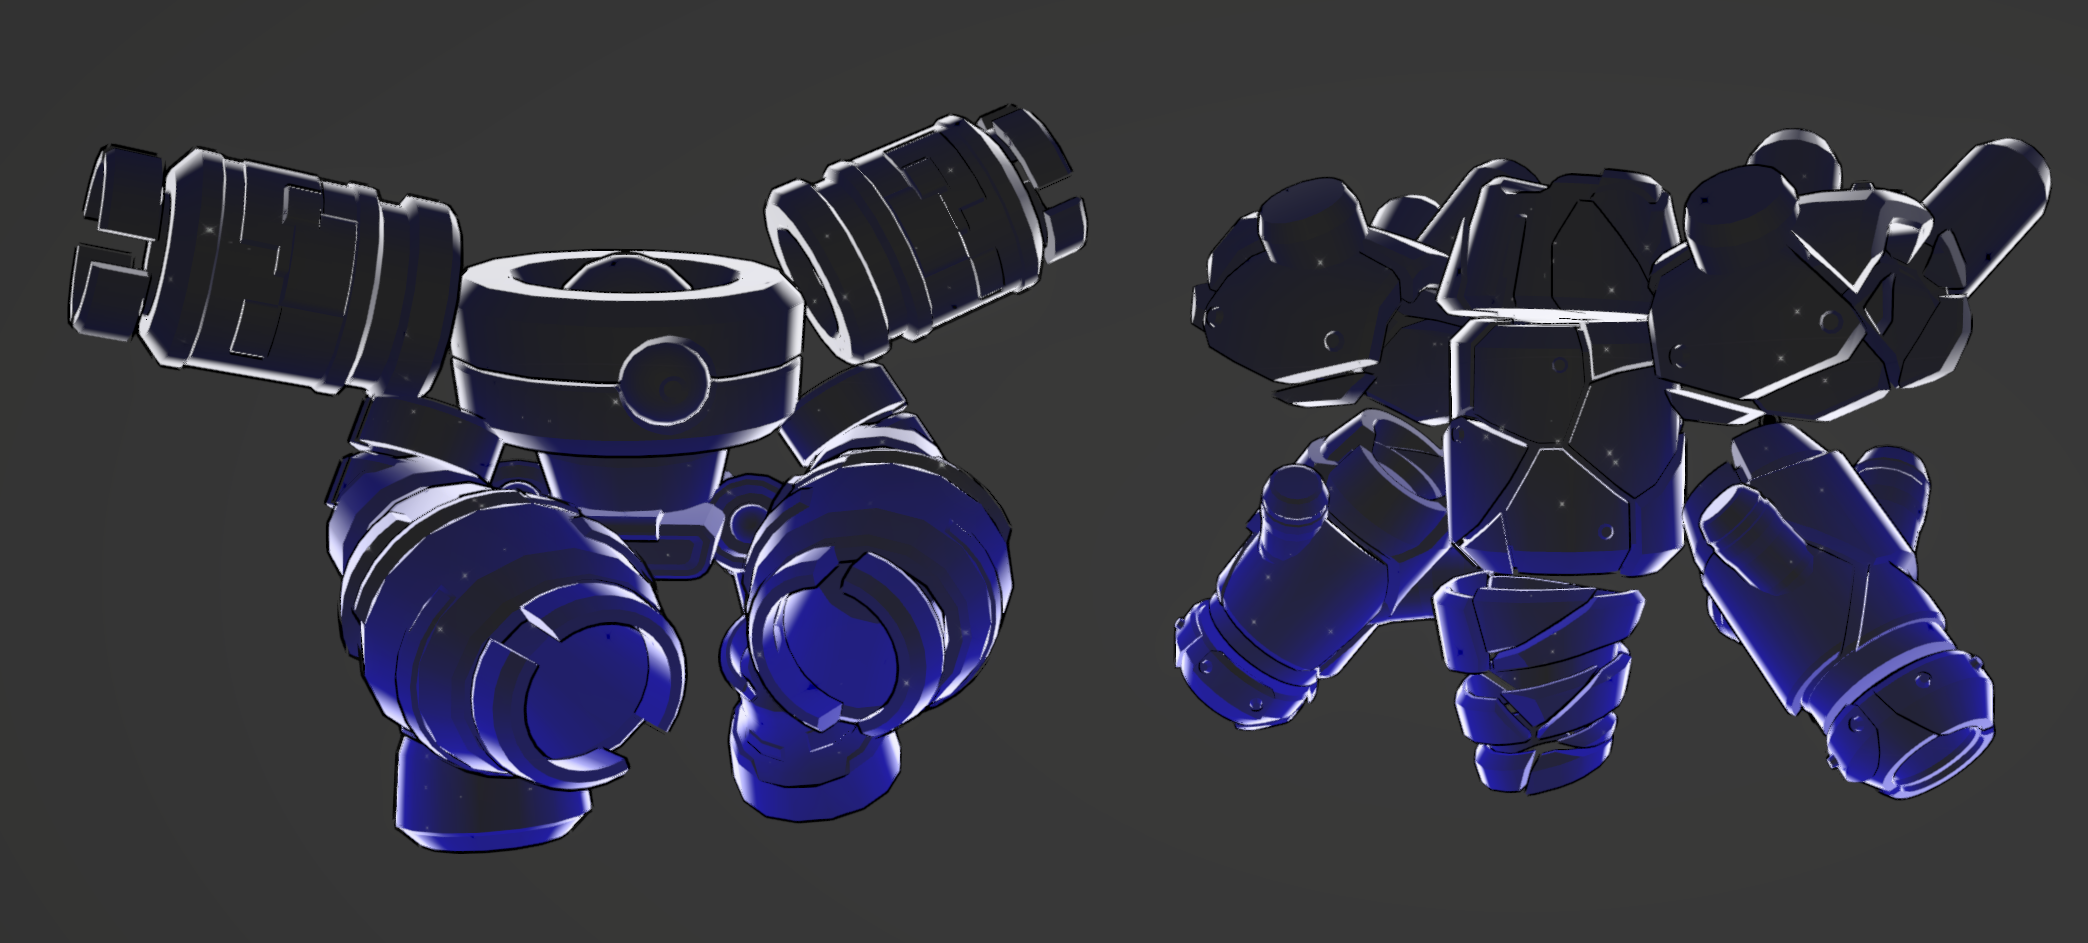
概述
这个材质主要由以下几部分组成,大部分是依赖于菲涅尔效果
- 外层的菲涅尔
- 底部的菲涅尔
- 屏幕空间贴图
- 边缘光
- 轮廓线
在此之前,需要对不透明物体进行设置,第一个Pass开启深度写入,是为了将模型的深度信息写入深度缓冲中,从而剔除模型中被自身遮挡的片元,而第二行才是我们主要的Shader Pass,代码如下:
1
2
3
4
5
6
7
8
9
10
11
12
13
14
15
16
17
18
19
20
21
22
23
24
25
26
27
28
29
| Pass
{
Zwrite On
ColorMask 0
}
Pass
{
Tags
{
"LightMode" = "UniversalForwardOnly"
}
Name "Quantum"
Blend SrcAlpha OneMinusSrcAlpha
Cull Back
ZWrite Off
ZTest LEqual
HLSLPROGRAM
#pragma vertex Quantum_Vert
#pragma fragment Quantum_Frag
#include "Quantum.hlsl"
ENDHLSL
}
|
菲涅尔
菲涅尔实现代码如下,首先使用法线点积视角方向,然后使用One Minus和Saturate函数得到正确的结果。
1
2
3
4
5
6
| float GetFresnel(Varyings i)
{
float NdotV = dot(i.worldNormal, i.worldViewDir);
float fresnel = 1 - saturate(NdotV);
return fresnel;
}
|
除此之外,还可以用幂函数以及乘法系数来修改外观
1
2
3
4
| float fresnel = GetFresnel(i);
fresnel = pow(fresnel, _FresnelPow);
fresnel *= _FresnelIntensity;
|
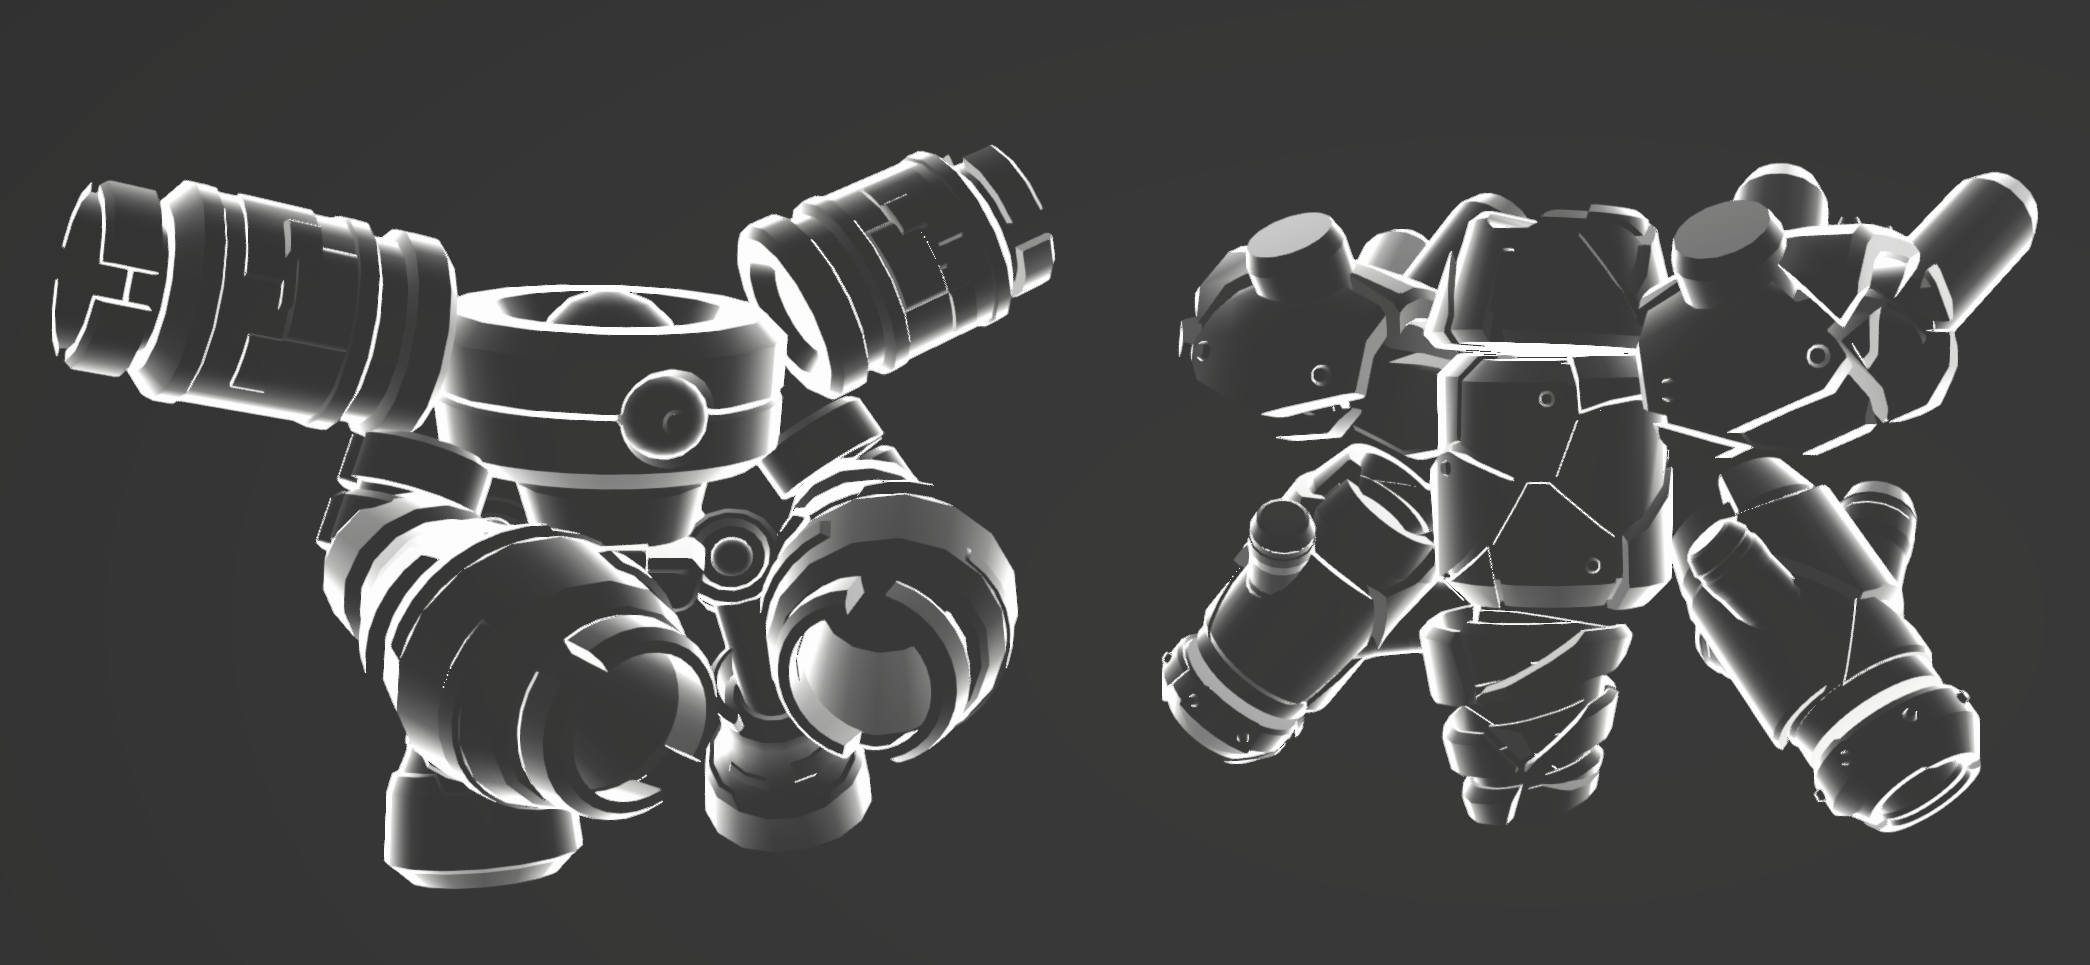
调整之后的外观如下:
Outline
Outline的实现非常简单,只要将顶点位置往法线位置偏移一段距离即可,具体的顶点着色器和片元着色器的代码如下
1
2
3
4
5
6
7
8
9
10
11
12
13
14
| Varyings Outline_Vert(Attribute v)
{
Varyings o;
v.position.xyz += v.normal * _OutlineOffset;
o.position = TransformObjectToHClip(v.position);
return o;
}
half4 Outline_Frag(Varyings i) : SV_Target
{
float4 baseColor = SAMPLE_TEXTURE2D(_MainTex, sampler_MainTex, i.uv);
half4 color = _OutlineColor;
return color;
}
|
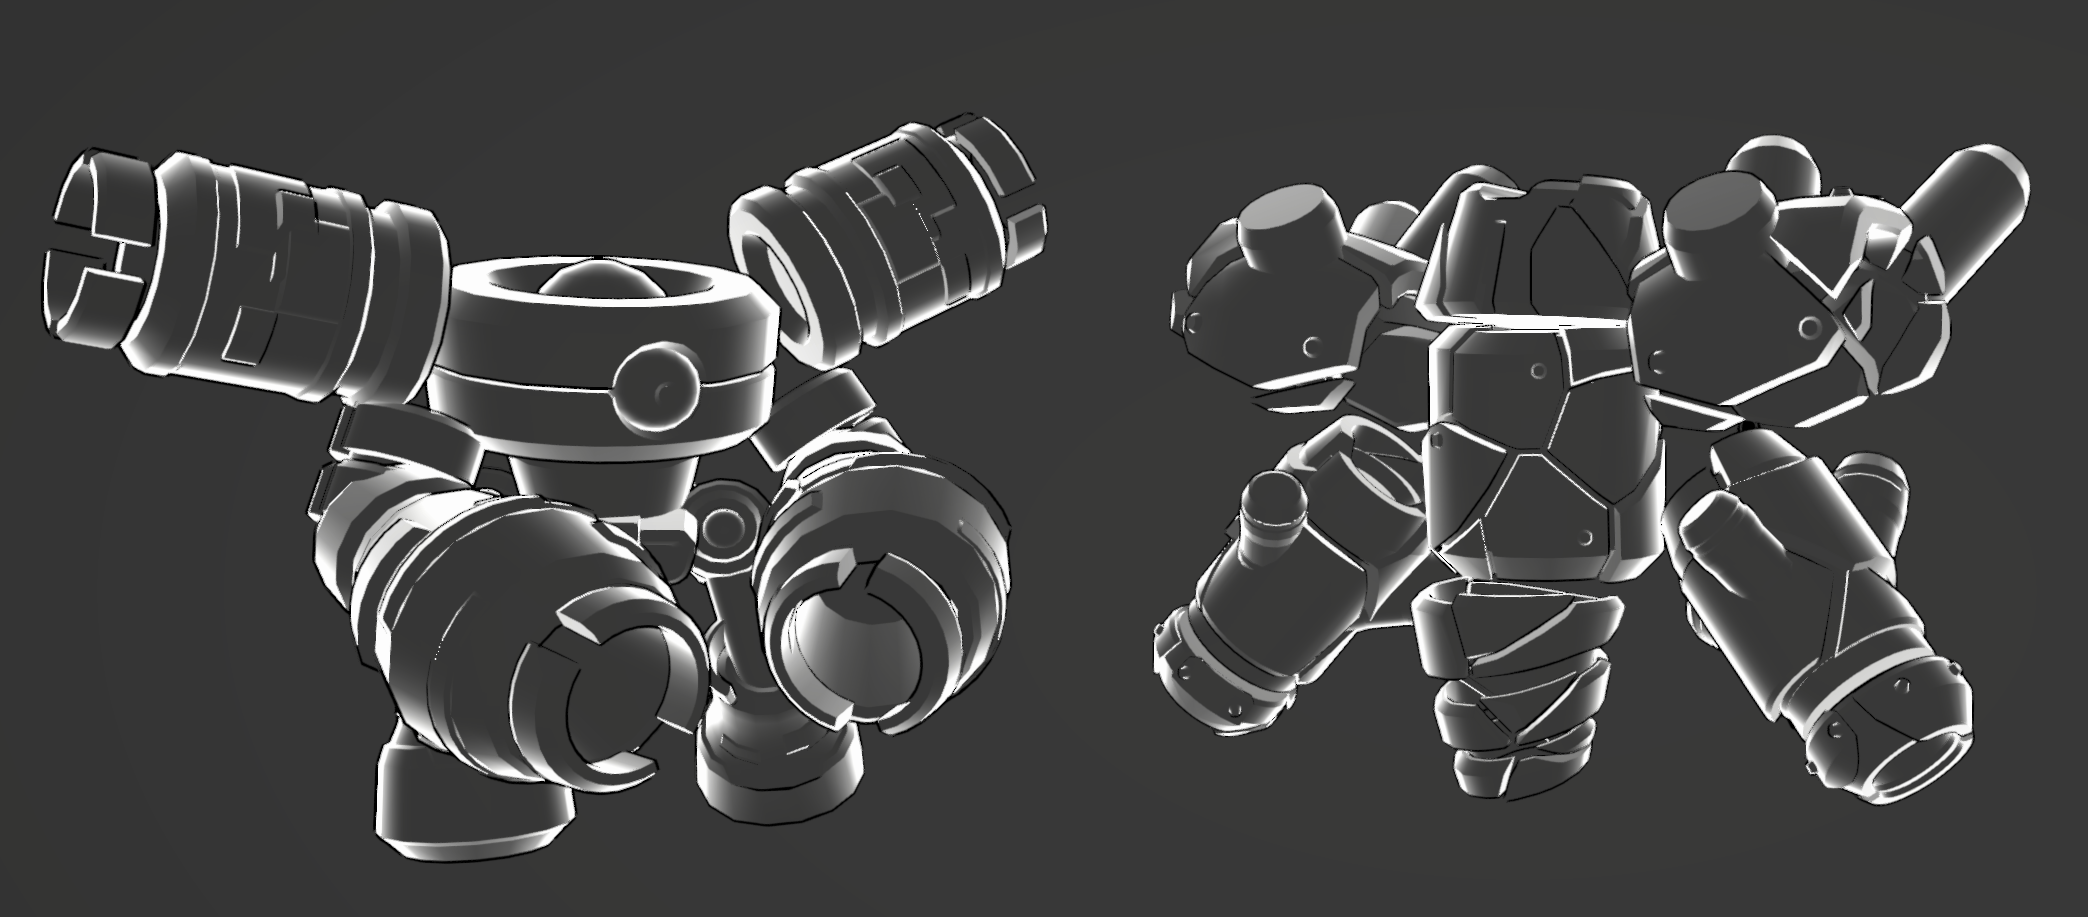
为了防止Outline Pass的不正常剔除导致前面的透明Pass呈现Outline的颜色,我们使用多个材质渲染一个物体,新建一个Outline Shader和材质,将Outline 材质加入到需要渲染的物体的Skinned Mesh Renderer中去。

渲染结果如下:
屏幕空间贴图
为了呈现贴图在怪物内部流动的效果,我们使用屏幕空间的顶点坐标作为采样贴图的UV,然后使用Time函数实现流动的效果,具体实现代码如下:
1
2
3
4
5
6
| float time = _Time.y;
float2 uv = i.positionSS;
uv *= _ScreenTexScale;
uv = GetComputedUV(uv, 0.1, float2(0, time), _ScreenTex_ST);
half3 screeColor = SAMPLE_TEXTURE2D(_ScreenTex, sampler_ScreenTex, uv);
|
其中,GetComputedUV是模仿了Tilling and Offset方法重写的,加入了调整流动速度的功能
1
2
3
4
5
6
| float2 GetComputedUV(float2 uv, float speed, float2 time, float4 name_ST)
{
float2 output = float2(uv.x + time.x * speed, uv.y + time.y * speed);
output = output.xy * name_ST.xy + name_ST.zw;
return output;
}
|
在顶点着色器中得到我们需要的屏幕空间的顶点坐标positionSS
1
| o.positionSS = ComputeGrabScreenPos(PositionInputs.positionCS);
|
ComputeGrabScreenPos函数的具体实现如下:
1
2
3
4
5
6
7
8
9
10
11
12
| inline float4 ComputeGrabScreenPos(float4 pos)
{
#if UNITY_UV_STARTS_AT_TOP
float scale = -1.0;
#else
float scale = 1.0;
#endif
float4 o = pos;
o.y = pos.w * 0.5f;
o.y = ( pos.y - o.y ) * _ProjectionParams.x * scale + o.y;
return o;
}
|
然后我们在使用一个Lerp函数,将屏幕空间贴图效果和我们定义的颜色进行插值,使用之前的菲涅尔作为系数,这样有颜色的地方是菲涅尔效果,透明的地方为屏幕空间贴图效果
1
| screeColor = lerp(screeColor, _ScreenColor, fresnel);
|
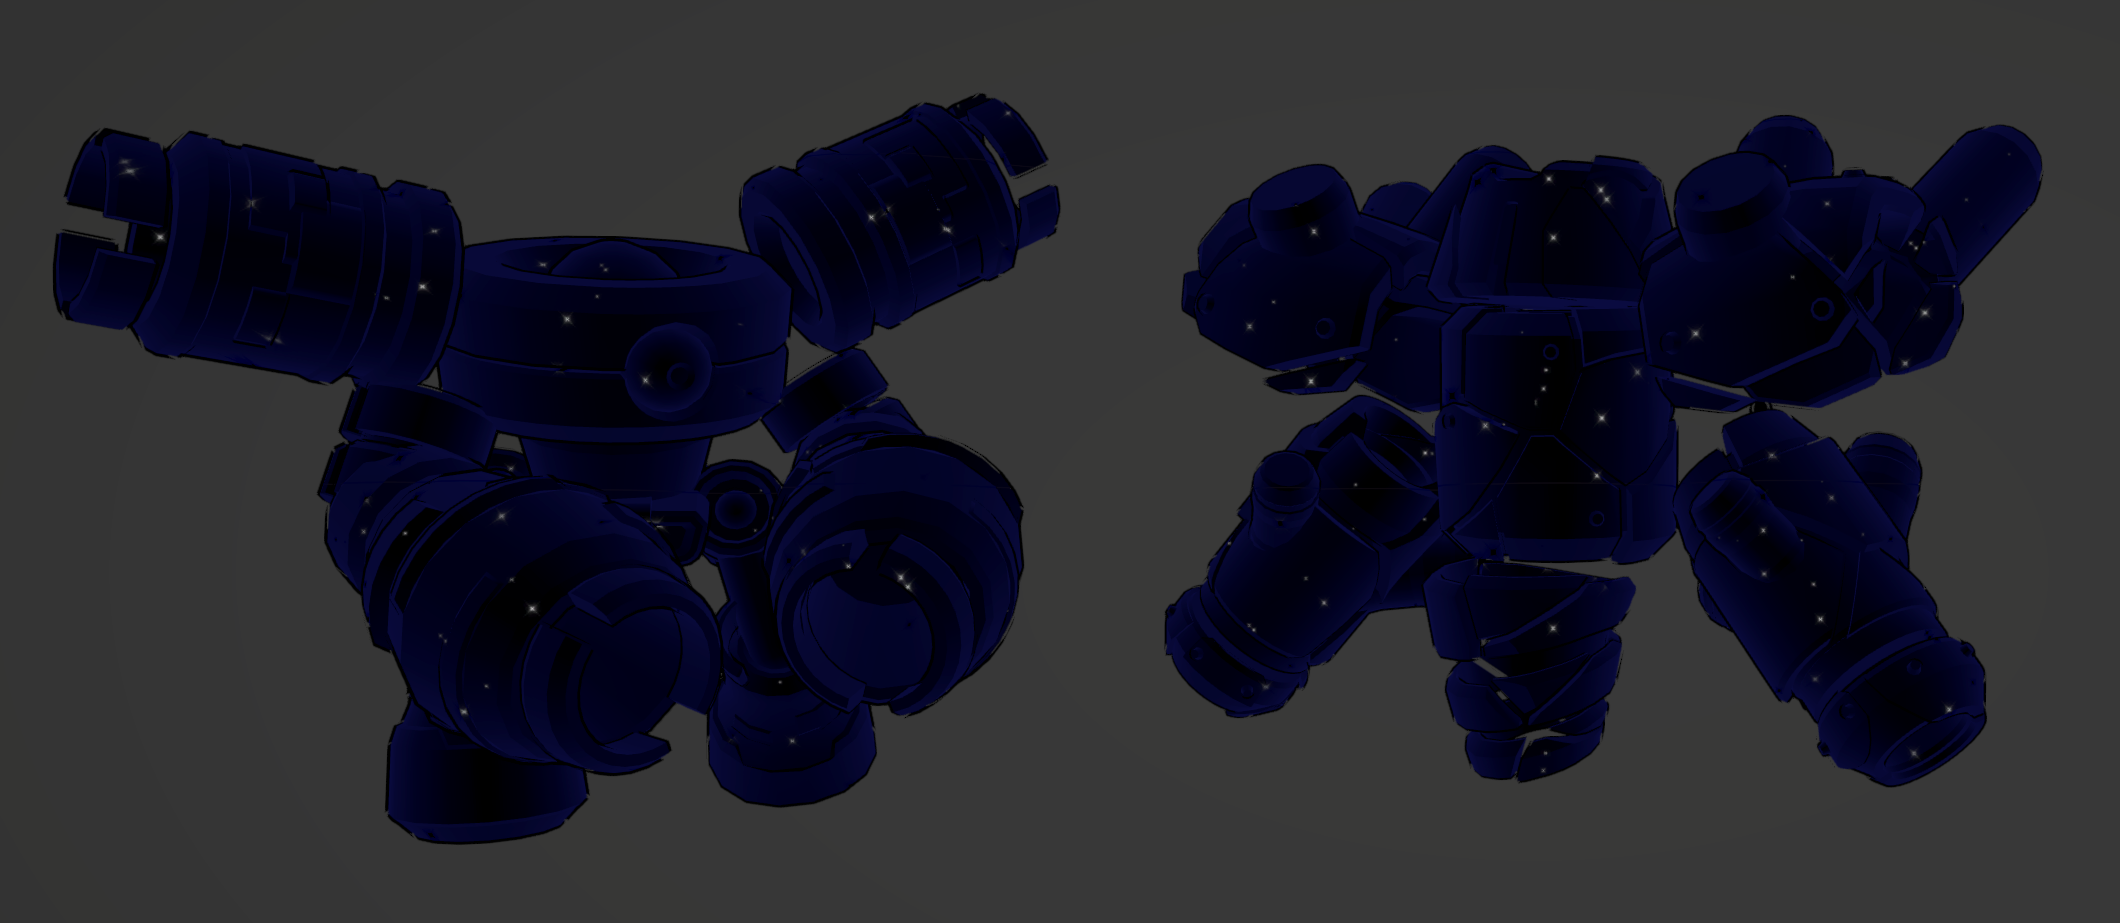
渲染效果如下,由于我们在GetComputedUV中只将float2(0, time)这个值传入time系数,因此屏幕空间效果只会在屏幕空间的Y轴,也就是UV的V轴流动。
此外,我们还声明了一个fresnelMask,用来使用物体的y轴采样fresnelMaskColor,以此实现底部的菲涅尔,代码如下:
1
2
3
4
5
6
7
8
| float fresnelMask = GetFresnel(i);
fresnelMask = pow(fresnelMask, _FresnelMaskPow);
fresnelMask *= _FresnelMaskIntensity;
float fresnelMaskPos = -i.worldPos.y;
fresnelMaskPos += _FresnelMaskOffset;
fresnelMaskPos = smoothstep(_FresnelMaskSmoothMin, _FresnelMaskSmoothMax, fresnelMaskPos);
half3 fresnelMaskColor = _FresnelMaskColor * fresnelMask * fresnelMaskPos;
|
渲染效果如下:
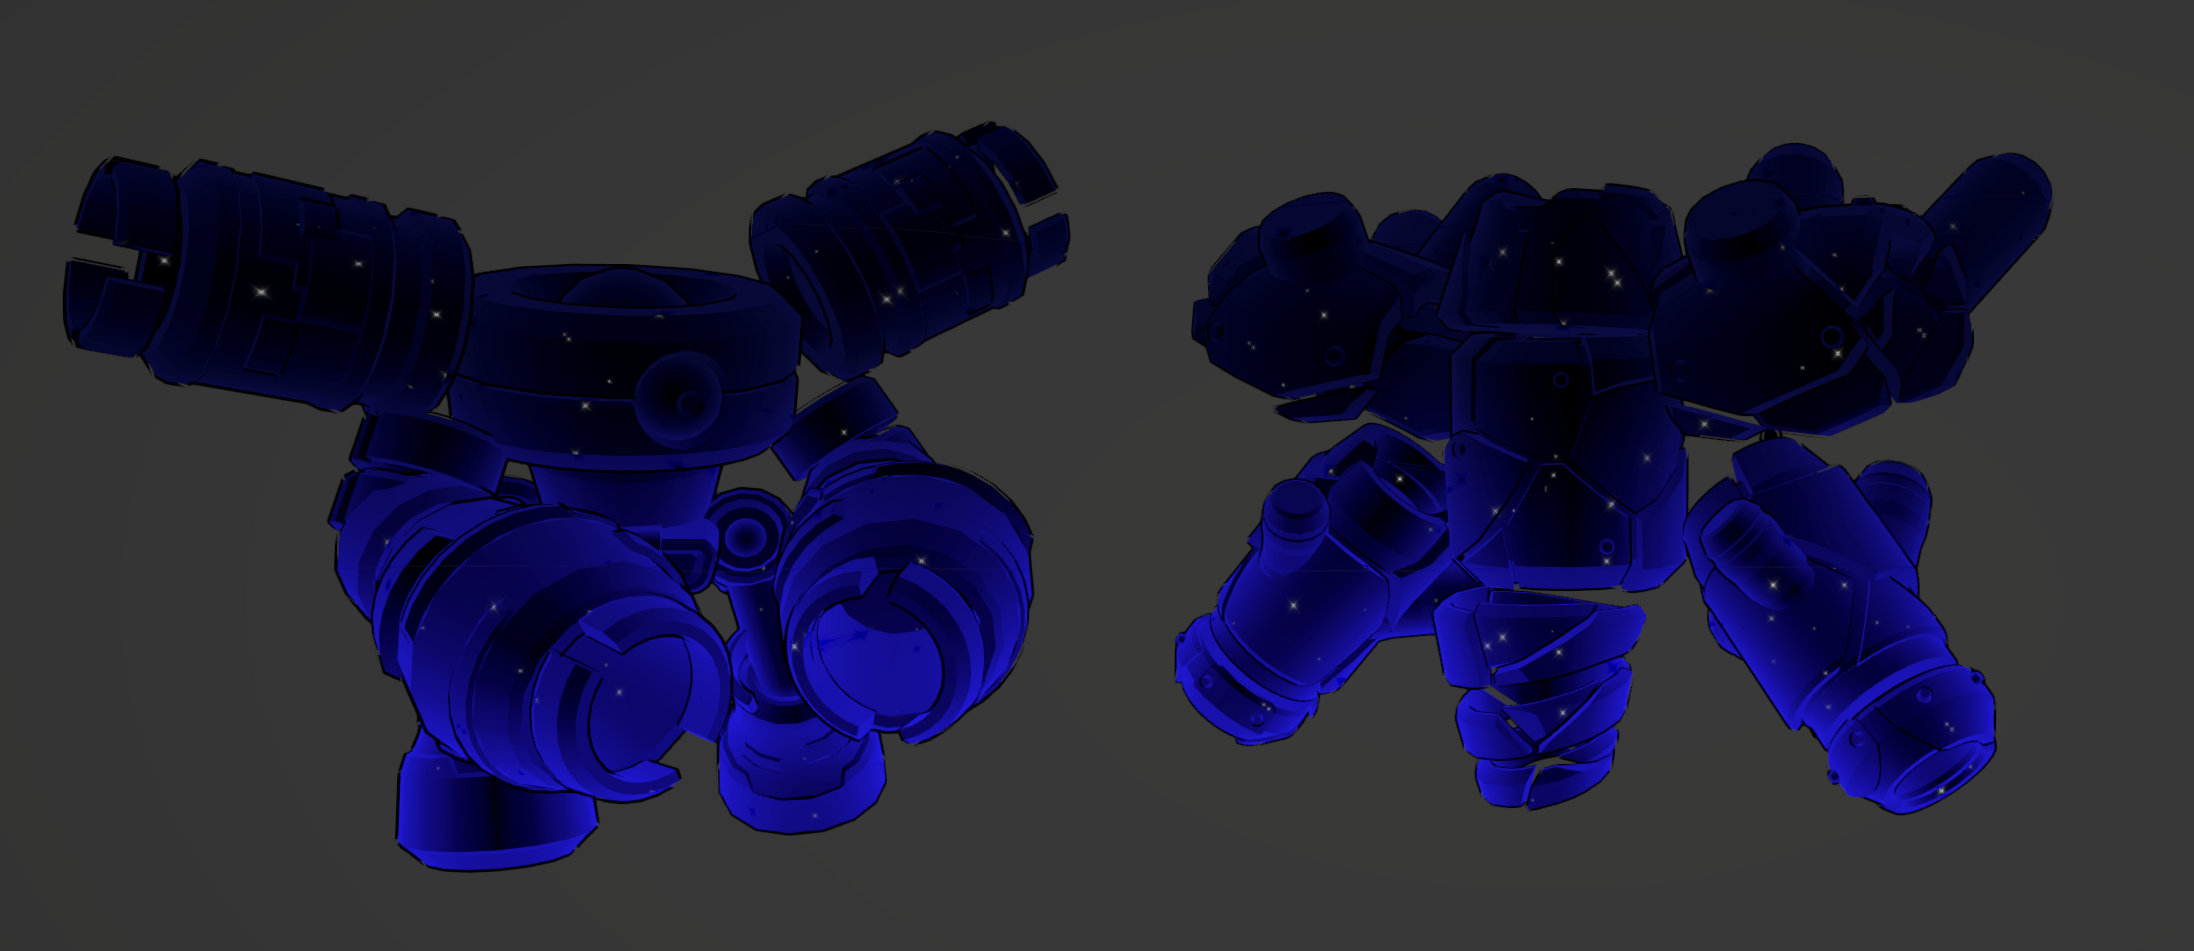
边缘光
边缘光还是基于菲涅尔实现的,我们加了一个smoothstep函数,将边缘光限制在边缘,然后是一些大小和强度的调整,代码如下:
1
2
3
| float rimlight = GetFresnel(i);
rimlight = smoothstep(_RimLightSmoothMin, _RimLightSmoothMax, rimlight);
rimlight *= _RimLightScale * _RimLightColor;
|
实现效果如下:
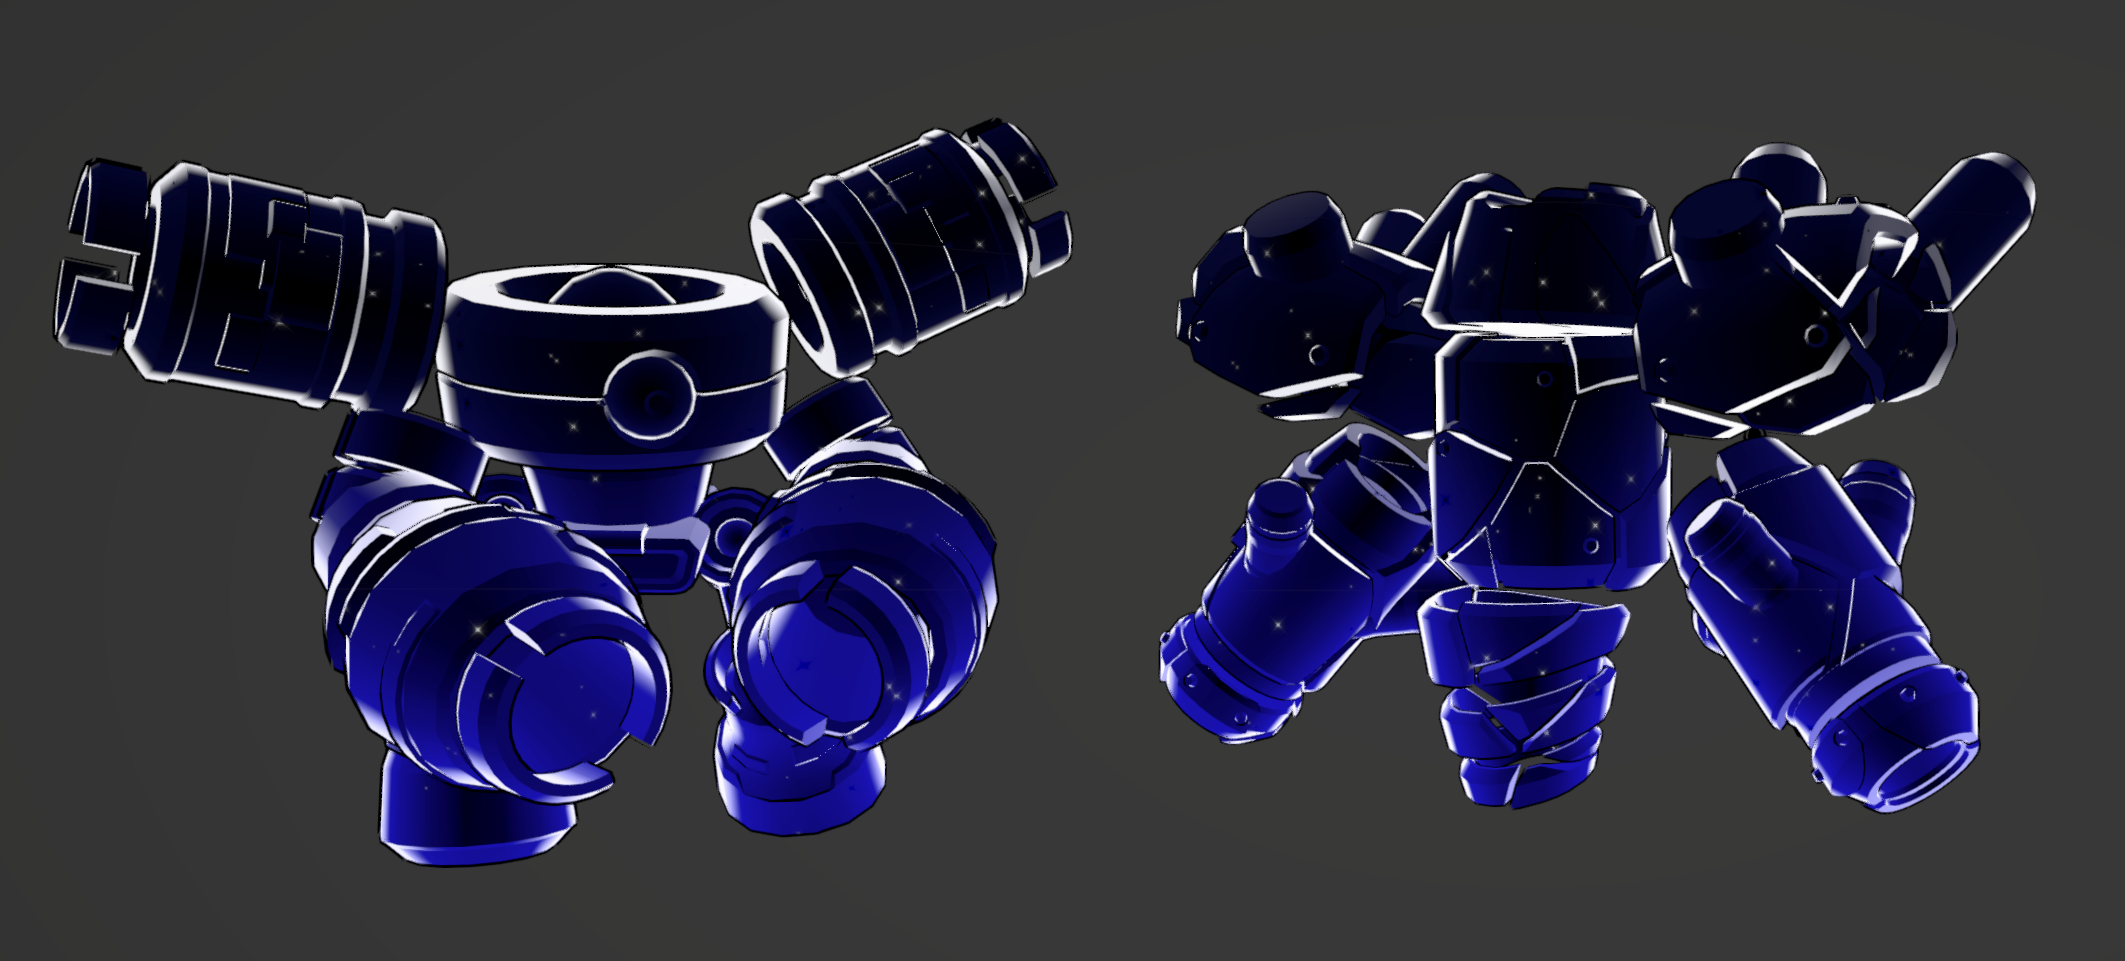
外观调整
最后,我们只使用NdotV作为Alpha的值,来控制怪物的透明程度
1
2
3
4
5
6
7
8
| half3 color = screeColor + fresnelMaskColor + rimlight;
float NdotV = dot(i.worldNormal, i.worldViewDir);
float alpha = pow(NdotV, _AlphaPow);
alpha *= _AlphaScale;
alpha += fresnelMask;
return half4(color, alpha);
|
最终的外观如下:
