代码地址:
https://github.com/Li-Kira/CodeLib/tree/main/CG/GAMES101/Homework05-%E5%85%89%E7%BA%BF%E8%BF%BD%E8%B8%AA
目标
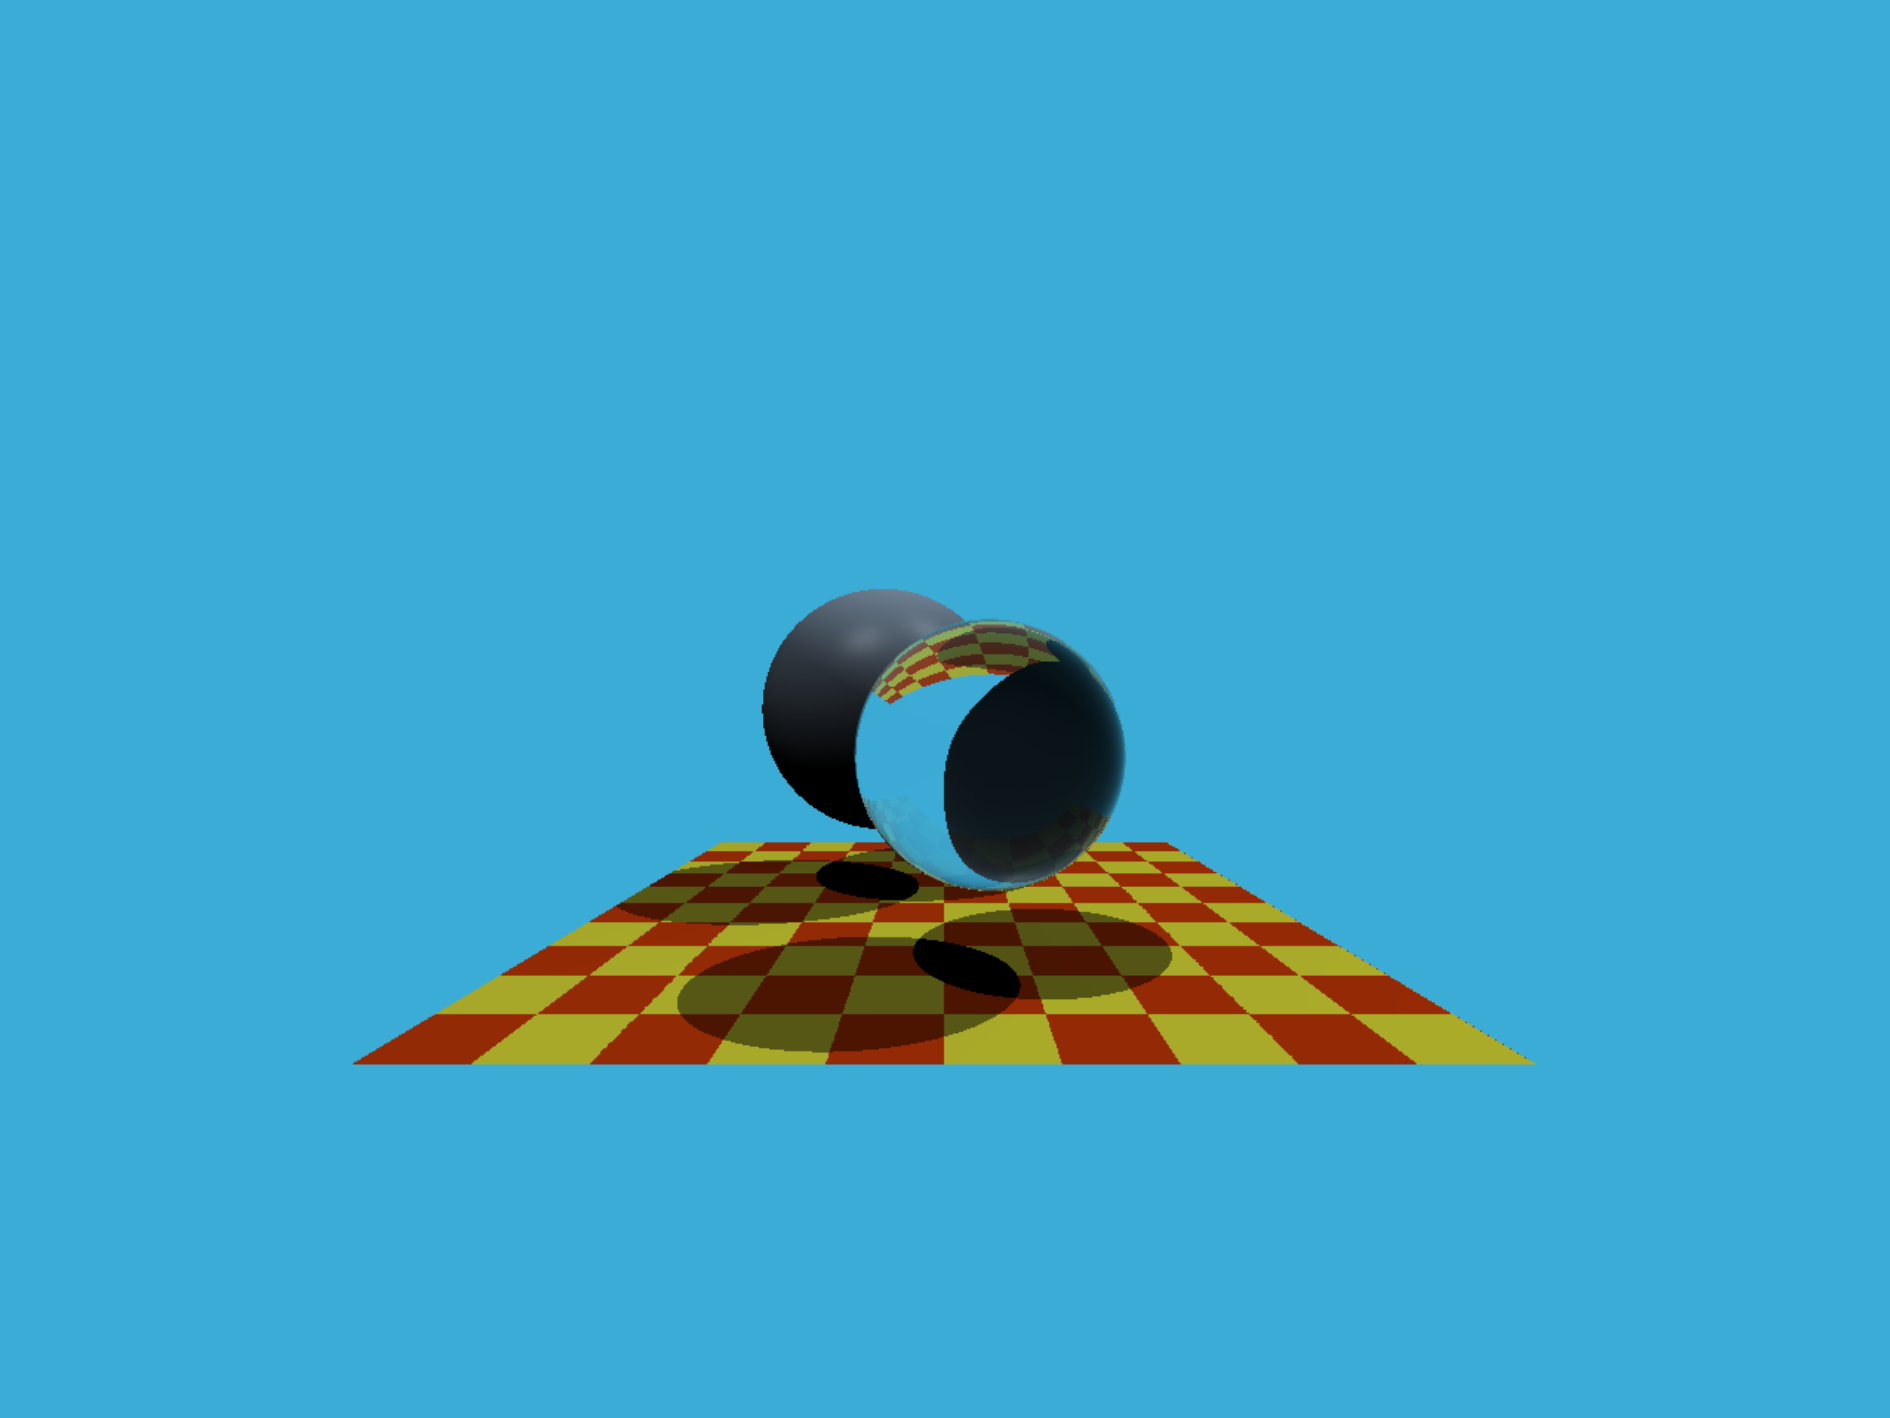
正确实现光线生成 部分,并且能够看到图像中的两个球体。
需要对Renderer.cpp 中的 Render()为每个像素生成一条对应的光 线,然后调用函数 castRay() 来得到颜色,最后将颜色存储在帧缓冲区的相应像素中。
光线与三角形相交 ,正确实现Moller-Trumbore 算法 ,并且能够看到图像中的地面。
在Triangle.hpp 中的 rayTriangleIntersect()使用课上推导的 Moller-Trumbore 算法 来更新的参数。
光线生成
参考资料:
https://www.scratchapixel.com/lessons/3d-basic-rendering/ray-tracing-generating-camera-rays/generating-camera-rays.html
光线的生成是从原点开始,经过像素的中点,然后到达物体表面,由于给定的x、y坐标是像素的坐标即光栅化空间的,我们需要将它从光栅化空间转换到屏幕空间然后再转换到世界空间。这样才能计算光线与三角面相交。
由于默认原点在中心即(0,0),首先将像素缩放到(-1,1),然后将他映射到屏幕空间,过程如图所示:
代码如下:
由于y是从上往下的,而屏幕空间的y是从下往上的,要将代码中的y乘以-1。
1
2
3
float x = (2 * ((i + 0.5 ) / scene.width) - 1 ) * scale * imageAspectRatio;float y = (1 - 2 * (j + 0.5 ) / scene.height) * scale;Vector3f dir = normalize (Vector3f (x, y, -1 ));
使用fopen函数需要在属性->C/C++->预处理器->预处理器定义中添加以下宏_CRT_SECURE_NO_WARNINGS
Moller-Trumbore 算法 只要对着之前的公式敲就可以了,要注意的是判断浮点数相等的非常不准确的一件事情,由于相交的条件为t>=0 ,正确的写法是加上一个eps,即tnear + epsilon > 0 。
1
2
3
4
5
6
7
8
9
10
11
12
13
14
15
16
17
18
19
20
21
22
23
24
25
bool rayTriangleIntersect (const Vector3f& v0, const Vector3f& v1, const Vector3f& v2, const Vector3f& orig, const Vector3f& dir, float & tnear, float & u, float & v) Vector3f E1 = v1 - v0; Vector3f E2 = v2 - v0; Vector3f S = orig - v0; Vector3f S1 = crossProduct (dir, E2); Vector3f S2 = crossProduct (S, E1); tnear = dotProduct (S2, E2) / dotProduct (S1, E1); u = dotProduct (S1, S) / dotProduct (S1, E1); v = dotProduct (S2, dir) / dotProduct (S1, E1); float epsilon = 0.00001 ; if (tnear + epsilon > 0 && u + epsilon > 0 && v + epsilon > 0 && 1 - u - v + epsilon > 0 ) return true ; return false ; }
最终结果如图:
![]()

